





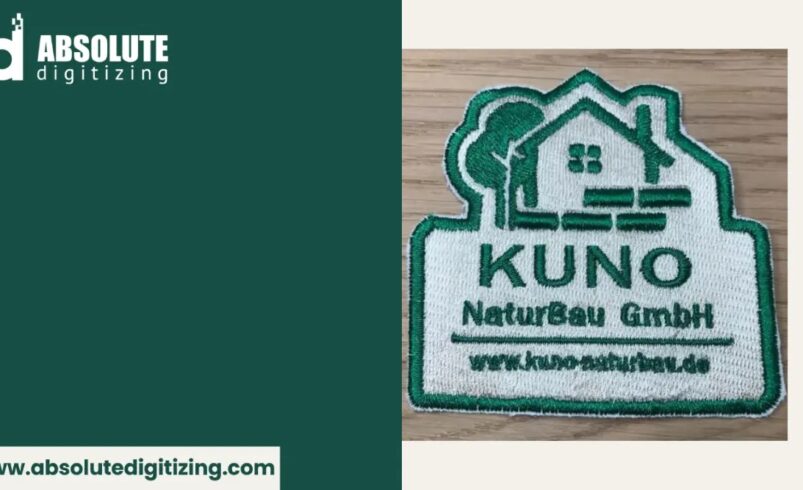
Embroidery badges are small, but they mean a lot. People use them on jackets, hats, bags, uniforms, and shirts. A badge can show a team name, brand, club, or memory. But over time, badges can get worn out. Threads may come loose. Colors may fade. Edges may curl. Some badges may even tear after many washes.
Many people think a damaged badge is ruined forever. That is not true. In most cases, you can repair it at home with simple tools and a little care. If you want to learn more about How to Fix Embroidered Patch Issues, it helps to know the right steps before starting the repair work.
This guide shares easy and simple ways to fix damaged embroidery badges. These tips come from real embroidery work and common repair methods used by patch makers and sewing experts. With patience and the right tools, your old badge can look neat again.
Why Embroidery Badges Get Damaged
Embroidery badges go through a lot of use. They rub against fabric, face heat in dryers, and get wet during washing. Over time, this can damage the patch.
Here are some common causes of damage:
-
Too much washing
-
Strong soap or bleach
-
Rough fabric rubbing
-
Poor stitching
-
Heat from irons or dryers
-
Old glue backing
-
Pulling or stretching the badge
When you know the cause, it becomes easier to repair the badge the right way.
Check the Badge Before Repair
Before fixing the badge, take a close look at it. Some badges only need small repairs. Others may need more work.
Look for These Problems
Loose Threads
Threads may stick out from the design or border.
Torn Fabric
The base cloth under the stitches may rip.
Curled Edges
The patch edges may fold or lift.
Weak Backing
Glue or iron-on backing may stop sticking.
Faded Colors
The thread color may look dull after washing.
Checking the damage first saves time and helps you choose the best repair method.
Tools You May Need
You do not need costly tools for badge repair. Most items are easy to find at home or in a craft shop.
Basic Repair Tools
-
Small scissors
-
Needle
-
Matching thread
-
Fabric glue
-
Iron
-
Tweezers
-
Soft cloth
-
Embroidery hoop
-
Small brush
Keep your tools clean before working on the badge.
How to Fix Loose Threads
Loose threads are one of the most common patch problems. They make the badge look messy.
Step-by-Step Method
Trim the Thread Carefully
Use small scissors to cut extra thread. Do not cut too close to the design.
Thread a Needle
Choose thread that matches the badge color.
Stitch the Loose Area
Make tiny stitches under the design. This keeps the thread hidden.
Tie a Small Knot
Tie the thread on the back side of the badge.
Smooth the Surface
Use your fingers or a soft cloth to flatten the stitches.
This repair method works well for names, logos, and simple shapes.
Repairing Torn Badge Fabric
A torn badge may still be saved if the damage is small.
Use Fabric Patches
Small fabric pieces can support the weak area.
Clean the Badge
Remove dust and dirt before repair.
Cut a Small Fabric Piece
Use fabric close to the badge color.
Place It Behind the Tear
The patch should fully cover the torn spot.
Sew Around the Area
Use tiny stitches to hold the fabric in place.
Avoid Thick Thread
Heavy thread can make the repair easy to see.
This method adds strength and helps stop more tearing.
Fixing Curled Patch Edges
Patch edges may curl after washing or heat exposure. This makes the badge look old.
Simple Iron Method
Place the Badge Flat
Put it on an ironing board.
Cover With a Thin Cloth
This protects the thread from heat damage.
Use Low Heat
Press the iron gently for a few seconds.
Let It Cool
Do not move the badge right away.
Use Fabric Glue for Strong Hold
If the edge still lifts, add a little fabric glue under the border.
Press it down and let it dry fully.
This helps the patch stay flat again.
Repairing Iron-On Backing
Some embroidery badges use glue backing instead of stitches. Over time, the glue may weaken.
How to Restore the Backing
Clean the Back Area
Remove lint and old glue pieces.
Add Fabric Adhesive
Use a thin layer only.
Place the Badge Correctly
Check the position before heating.
Press With an Iron
Use medium heat and press firmly.
Let the Glue Cool
Cooling helps the glue bond better.
Avoid moving the fabric while it cools.
Restoring Faded Thread Colors
Sunlight and washing can fade embroidery thread. While badly faded thread may need full replacement, light fading can still improve.
Easy Color Care Tips
Wash With Mild Soap
Strong soap removes thread color faster.
Avoid Hot Water
Hot water can weaken thread shine.
Use Fabric Markers
Special fabric markers can refresh small faded spots.
Store Away From Sunlight
Direct sun fades thread over time.
Always test markers on a hidden area first.
Fixing Badge Holes
Small holes may appear in old embroidery badges.
Repair Method for Small Holes
Place Fabric Behind the Hole
Use thin cloth for support.
Stitch Over the Area
Follow the badge design pattern if possible.
Keep Stitches Small
Small stitches blend better with the design.
Trim Extra Fabric
Cut any extra cloth from the back side.
This repair can make holes less visible.
How to Clean a Damaged Badge Safely
Dirty badges should be cleaned gently before repair.
Safe Cleaning Steps
Fill a Bowl With Cool Water
Add mild soap.
Soak for a Few Minutes
Do not leave it too long.
Use a Soft Brush
Clean dirt carefully around the stitches.
Rinse With Clean Water
Remove all soap.
Air Dry Flat
Do not twist or wring the badge.
Clean badges are easier to repair and sew.
Best Ways to Protect Badges After Repair
A repaired badge can last a long time if cared for properly.
Helpful Care Tips
Wash Clothes Inside Out
This reduces rubbing on the badge.
Avoid High Dryer Heat
Heat weakens thread and glue.
Store Items Carefully
Do not fold directly over the patch.
Sew Heavy-Use Badges
Sewn badges last longer than glue-only badges.
Check Loose Threads Early
Small repairs prevent bigger damage later.
Good care keeps embroidery looking fresh and neat.
Common Mistakes to Avoid
Many people damage badges more during repair. Being careful is very important.
Do Not Use Too Much Glue
Extra glue can leak through the stitches and stain the badge.
Avoid Strong Heat
Too much heat may melt thread or backing.
Never Pull Loose Threads Hard
Pulling can damage the whole design.
Do Not Rush Repairs
Quick repairs often look uneven or messy.
Avoid Thick Needles
Large needles can leave holes in the patch fabric.
Simple and slow work gives the best results.
When to Replace the Badge
Some embroidery badges are too damaged to repair fully.
Signs You May Need a New Badge
-
Large missing sections
-
Heavy fading
-
Burn marks
-
Torn backing everywhere
-
Weak fabric falling apart
In these cases, replacement may save more time and money.
Tips From Real Embroidery Experience
People who work with embroidery daily know that small care steps make a huge difference.
Keep Extra Thread
Matching old thread later can be hard. Save leftover thread when possible.
Test Before Full Repair
Practice stitches on scrap fabric first.
Work in Good Light
Bright light helps you see thread details clearly.
Use Quality Materials
Cheap glue and weak thread may fail quickly.
Stay Patient
Neat repairs take time. Slow stitching often looks the best.
These simple habits help badges stay clean and strong for years.
Why Proper Repair Matters
Embroidery badges are more than decoration. Many hold memories or represent important groups. A sports badge, school logo, or work patch can mean a lot to someone.
Repairing badges instead of throwing them away also saves money. It helps clothes and gear last longer. Small repairs can keep favorite items looking new again.
Good repair work also protects the embroidery design. Neat stitching and careful handling keep the shape, color, and style of the badge looking professional.
Final Thoughts
Damaged embroidery badges may look hard to fix at first, but many problems are simple to repair. Loose threads, curled edges, weak backing, and small tears can often be fixed at home with basic tools and careful work.
The key is to work slowly and use gentle methods. Clean the badge first, choose the right repair steps, and avoid strong heat or rough handling. Small repairs done early can stop bigger damage later.
With proper care, embroidery badges can stay neat and strong for many years. Whether the badge is for fashion, work, sports, or memories, taking time to repair it helps keep it looking its best.